Excessive Sweating Can Cause Problems
12 Nov 2021
If it isn´t fun, it isn´t scouting. A quote from B.P himself we all should learn from. What he meant was obvious. Scouting should be fun for participants and if it isn´t then something has gone wrong.
Excessive sweating is not fun but for some scouts it is a reality. It is a condition known as hyperhidrosis and it casues you to sweat excessively and not becaus of heat or by moving around. This condition is of course annoying, but for scouts it is also potentially dangerous. Imagine using an axe with sweaty hands! Things can go array very quickly...
How to treat hyperhidrosis
First of all we must be aware that this condition is quite rare. About 3% of the world´s population has it. But for those suffering from it a treatment is welcomed.
If the problem areas are feet, underarms and/or hands it can easily be treated using an iontophoresis machine. It gives a long-term effect that reduce sweat. It also helps improving grip performance which is good when handling an axe or other equipment that could be dangerous if grip is lost.
Iontophoresis machines use a low grade electric current to treat the bodypart affected. You simply put your hands, feet or underarms in trays with common tap water and turn the machine on. This will not cure the conditions. Sadly, it is uncureable, but it will reduce the problems greatly. Go see a dermatologist if you think you may have hyperhidrosis, they can help you.
Insulated canisters & bottles
28 Aug 2020
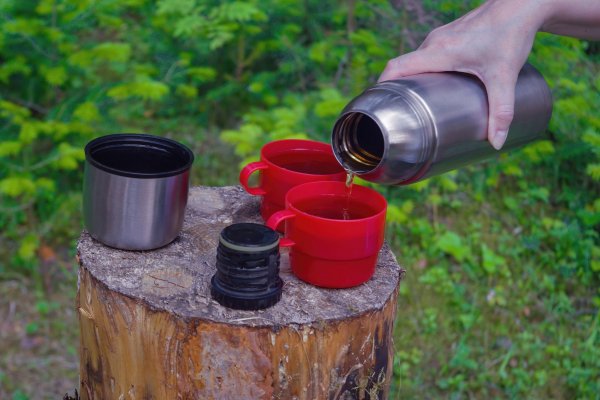
A thermos is a boy scouts best friend. It can keep you beverages warm on cold days, and cold on warm days and you can actually keep food in them aswell. Soup or sausages are two popular thermos foods among scouts all over the world. But there are better ways to keep your food and drinks the correct temperature and at the same time keep it fresh.
There are canisters and bottles made for this purpose. With them there is no need for using a thermos as food containers. Simply get a range of insulated bottlesd and canisters and you are set for both short hikes and lengthy camping.
Advantages using insulated canisters and bottles
One thing that really is sticking out when it comes to advantages is the freshness you get. An ordinary bottle will not keep your water cold or coffee hot. And if you are hesitating taking young children along you should check out Klean Kanteen that makes stainless baby bottles and canisters.
- Durable
- Easy to clean
- Non-toxic
- Lightweight
- High quality
These insulated canisters and bottles are not made solely for boyscouts, everyone can use them. And that is also why they are so popular. Check out the links above if it sounds interesting, I have ordered a sippy bottle, a lunchbox and a thermos along with an insulated food canister for hiking.
Tip: They offer free shipping from €50 so order with friends and family.
Basic knots
23 Aug 2019
All people are well off knowing how to tie some basic knots. It's not just for scouts and sailors! There are seven basic knots to start with and anyone who knows how to tie them have a very good knot base knowledge. I believe that it's easier to learn to tie these knots by watching an instructor, so that's what I'm offering her today. Start practising!
Adventures on a horse
16 May 2019
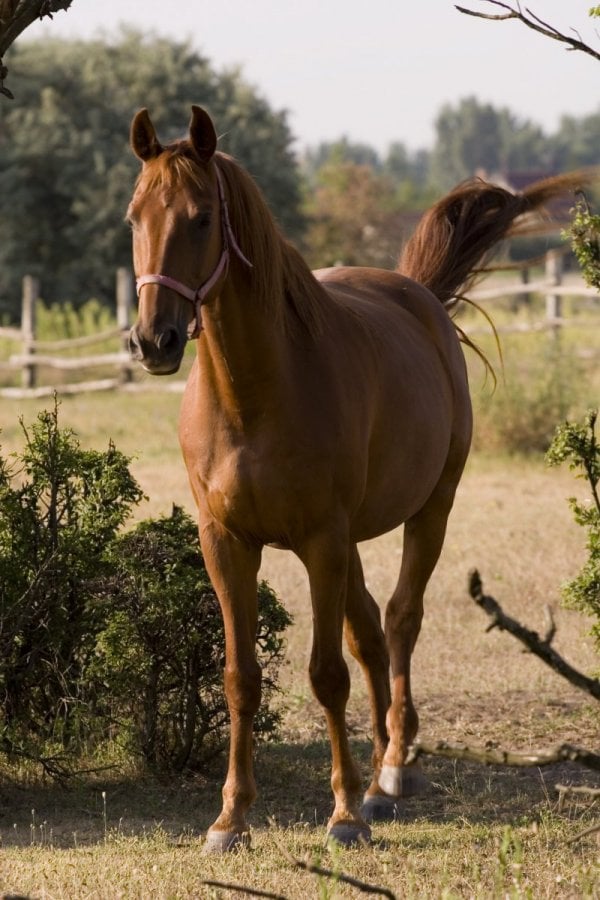
Not long ago, we decided to take a trip together and try out horseback riding. We try to have different adventures together, and not only related to be a scout. We are going on this trip very soon, so we need to gear up. I guess we must buy or borrow helmets, and maybe riding breeches. Don’t think jeans will work on a horseback. We also need good shoes, I think. This trip is supposed to be with one night out in the forest. I guess they have a paddock for the horses. This trip is going to be really nice. I did some horseback riding back when I was younger, but that was a long time ago.
Maybe need more equipment?
I guess we also need some more equipment, for the night in the forest. But, as a scout, that is always ready, we all have tents, and sleeping bags and so on. I don’t know if we need them or if it is supposed to be some other sleep arrangements. Think we have to check that out, before we go on this trip. I think its important as a scout, to try out different things. Of course, it’s good to do all the normal stuff a scout is supposed to do. But also try out new things. Its good for everyone, not only scouts. So why don’t you also try out something new?
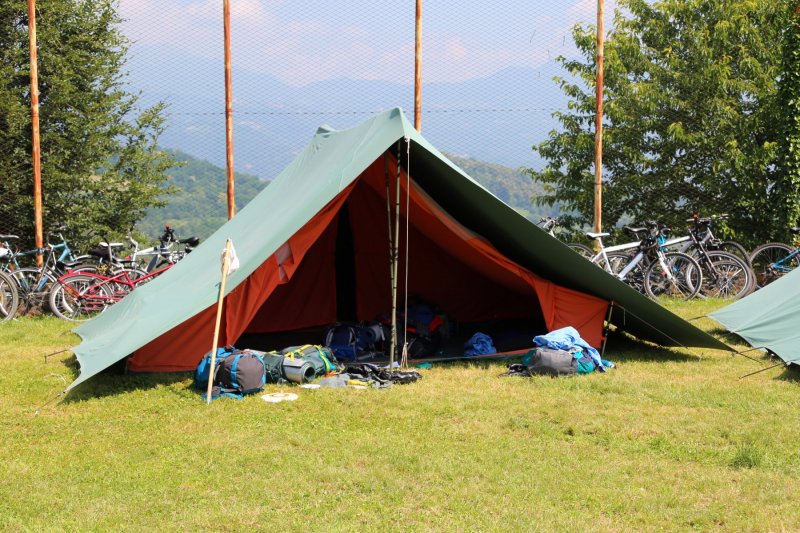
Boy scout gear
28 Oct 2017
Each boy scout needs his gear, that's for sure. There are definately lots to learn about making your way in the wild without any gear, but there is also a basic set up of stuff that are extremely handy to carry with you. New boy scouts are encouraged to get the basics when they start and most scout groups have more or less the same set up.
Hotel sensation - every time
15 Sep 2017
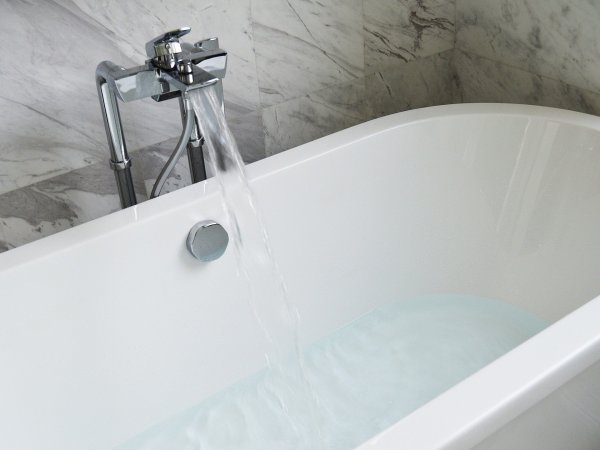
We took the big leap to fix up our bathroom recently. It was a long time coming project as the old bathroom was from the 70's. We had green tiles in there, and there were cracks in almost all of them. The bathtub was miscoloured and the sink had definitely seen better days. It is a costly thing though, bathroom remodeling, but we found a great business in Minneapolis that took on our project with enthusiasm and at a very fair price.
I want to spend all day in there
The bathroom is done now, since a few weeks back, but I still get a bit of a shock everytime I enter it. It is like walking into a luxury hotel - every time! We chose white and grey tones in everything, because we were sick of color in that room - to say the least. Now we can add color in the details, if we so wish and I have bought lovely towels in pale pink and pale green, plus I have added some plants to make the space less sterile. I wish I could spend all day and all night in there now and I'm not joking if I say that I probably spend more than two hours in the bathroom right now - on a daily basis. I take long baths and spend a lot of time grooming and putting on different beautyproducts in there.
Best investment ever
Investing money in a remodeling our bathroom was one of the best investments ever. And I can really recommend you using the same company as we did if you live anywhere near Minneapolis, they're ACE!
World Scout Jamboree
31 Aug 2017
World Scout Jamboree is a meeting, where scouts all over the world get together. Camping is most often arranged at the unit level, such as one Scout troop, but there are periodic camps (known in the US as "camporees") and "jamborees”. Since 1920 it has been a Jamboree every forth year, held over different places in the world. In the video from youtube we can see when it was in Sweden, This year, 2015, the Jamboree was held in Japan.
Ski adventures
8 Jul 2017

Sure, it's still just the beginning of the summer, but every serious ski enthusiast is already planning for next winter's skiing adventures, right? The number one best thing about the winter is snow and skiing/snowboarding, or possibly hiking through white forests... If you love the nature winter is a magical time because it looks as if you're walking through a mythical land, or a fairytale if you will.
The Alps
My favourite place to go skiing is the alps because there you get both snow activities at their best and some wilderness as well as decent night life (for whomever wants). It's expensive, sure, but it's worth it! I have been to both St. Anton, which is on the Suiss side, and in Val Thorens which is French. Of the two I prefer St. Anton which feels more genuine and less of a crazy Ibiza-like party mountain. The skiing is great also in Val Thorens, but the general feel is much nicer in St Anton.
Planning for the next trip
I am right now on the hunt for new ski gear, because the stuff I have is more than ten years old - it's really time for new skis and a new wear. It's exciting because this time of year you can make some really good catches online - all of last years collection is on sale and it's really fresch looking!
My next trip will probably be to St. Anton again, I love that place!
Scouting
15 Aug 2015
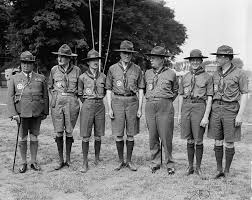
In 1906 and 1907 Robert Baden-Powell, a lieutenant general in the British Army, wrote a book for boys about reconnaissance and scouting. Baden-Powell wrote Scouting for Boys (London, 1908), based on his earlier books about military scouting, with influence and support of Frederick Russell Burnham (Chief of Scouts in British Africa), Ernest Thompson Seton of the Woodcraft Indians, William Alexander Smith of the Boys' Brigade, and his publisher Pearson. In the summer of 1907 Baden-Powell held a camp on Brownsea Island in England to test ideas for his book. This camp and the publication of Scouting for Boys are generally regarded as the start of the Scout movement. Source: Wikipedia
Scouting or as its also called, the Scout movement, is a movement that wants to be there for young people and support them in their hysical, mental and spiritual development, that they may play constructive roles in society, with a strong focus on the outdoors and survival skills. There is scouts everywhere over the world, and as of 2010, there are over 32 million registered Scouts and as of 2006 10 million registered Guidesaround the world, from 216 countries and territories. Scouting virtually started itself but it was triggered by the publication Scouting for Boys written by Robert Baden-Powell in 1908.
This was a site about the Devin family. You had the pleasure to follow their adventures as scouts.
The site is now closed. Follow this link to see how the site used to look like.
Subscribe:
Like:
